


explore & discover! this week's summer spotlight!
Updated: Aug 14
Monday, August 3, 2026
A new month has arrived,
and if you've been making summer memories with the Littles in your lives,
you might be finding yourself ready for a few fresh ideas
to keep the fun going!
After weeks of outdoor adventures, water play, and sunshine-filled days,
this time of year is perfect for mixing things up…
Especially when the afternoon heat might send you looking
for the cool comfort of the air conditioning.
We’re back with the next edition of our series,
This Week’s Summer Spotlight!

Today’s post is all about
exploring, discovering, and learning through play!
Many of the ideas we’re sharing in this post introduce STEM or STEAM concepts (Science, Technology, Engineering, Math with the addition of Art) to our Littles! Best of all, these experiences happen naturally through play!

You don’t need expensive materials or elaborate plans to bring
STEM/STEAM Into everyday play.
You only need to invite your Littles to ask questions, experiment, build, create,
and let their curiosity lead the way.
Our GRAND Tips for Successful STEM/STEAM Experiences!
Invite your Littles to…
Ask Questions! "What do you think will happen?" or "Why do you think that worked?" are great places to start!
Observe Closely! Notice colors, shapes, textures, patterns, sounds, and changes all around them!.
Predict and Test! Make a guess, try it out, and talk about the results!
Build and Create! Use blocks, recycled materials, craft supplies, or items from nature.
Measure, Count, and Compare! Incorporate simple math into everyday activities.
Experiment Freely! Try different ideas and learn from the outcome.
Reflect together! Ask, "What did we discover today?" or "What would you do differently next time?"
One more important reminder before we share this week’s ideas…
Let your Little guide you as they explore and discover!
Your role can be to encourage your Littles’ curiosity and support their ideas
by asking open ended questions and following their lead!


Today’s activities will intrigue your Littles
- your grandkids (like us), your own children or those you care for daily -
and will get them thinking in new ways!
A Color Hunt Walk!
Here’s a fun memory that Laurie is sharing today!
It’s a simple activity - to make and use - and appropriate for young Littles, too,
to get them thinking and wondering!
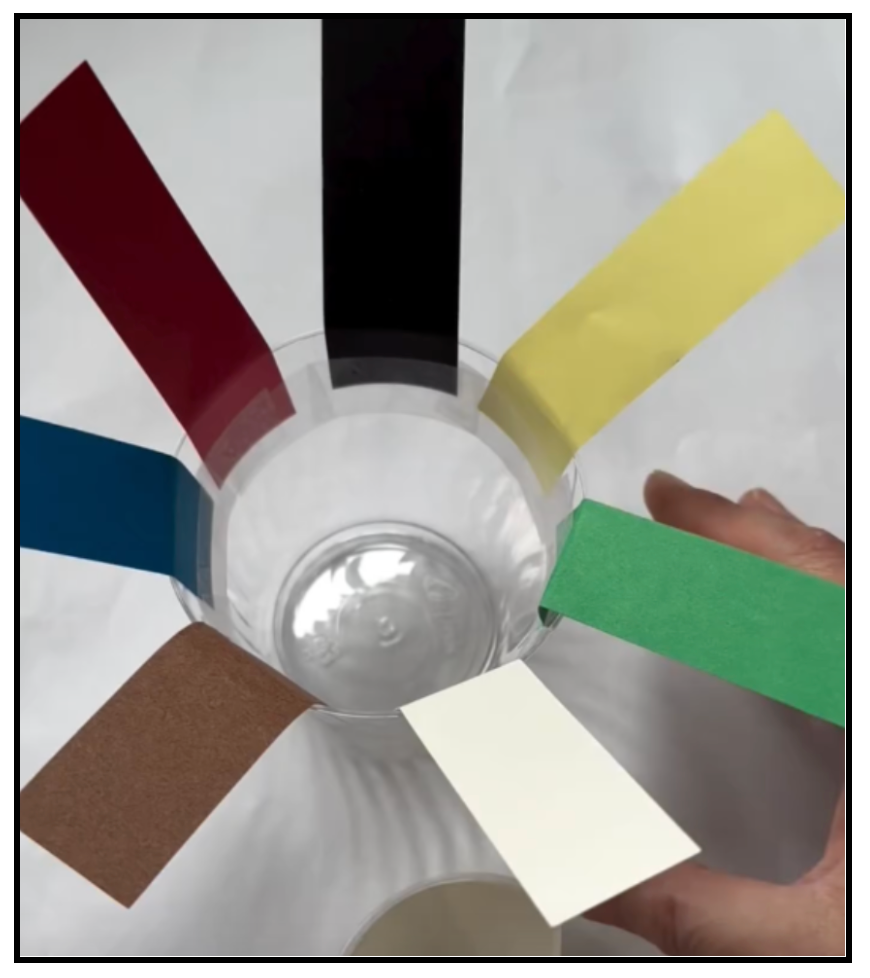
A few years ago, Little D and I spent an afternoon
celebrating summer in this special way!
We created a Color Hunt Cup to take on a walk with us!
Tape strips of colored paper onto the edge of a plastic cup, as shown.
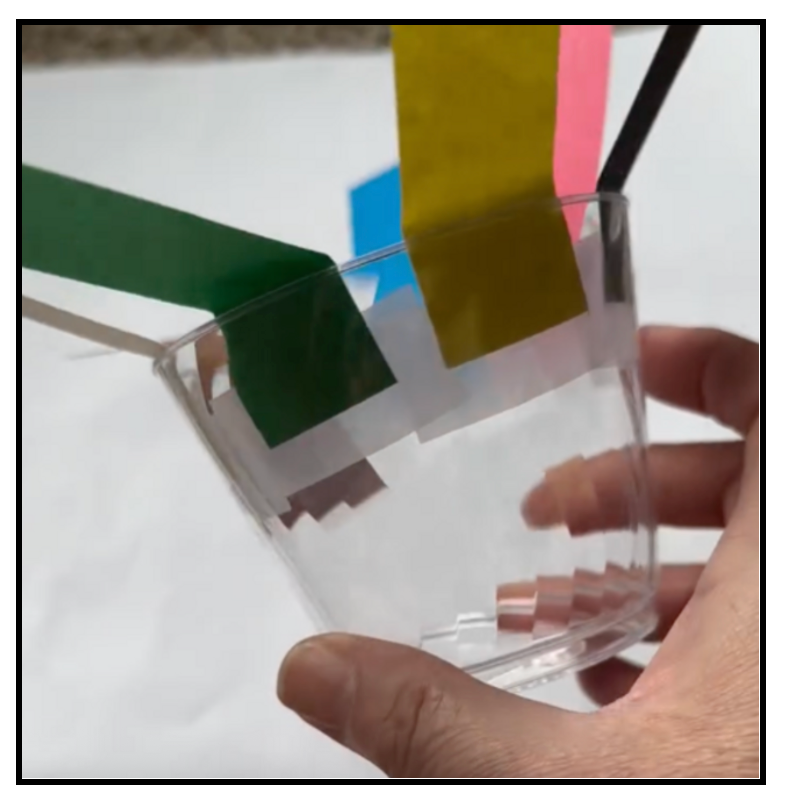
Then add a piece of double sided tape to the other end of each strip.
You are ready for your Color Hunt Walk!
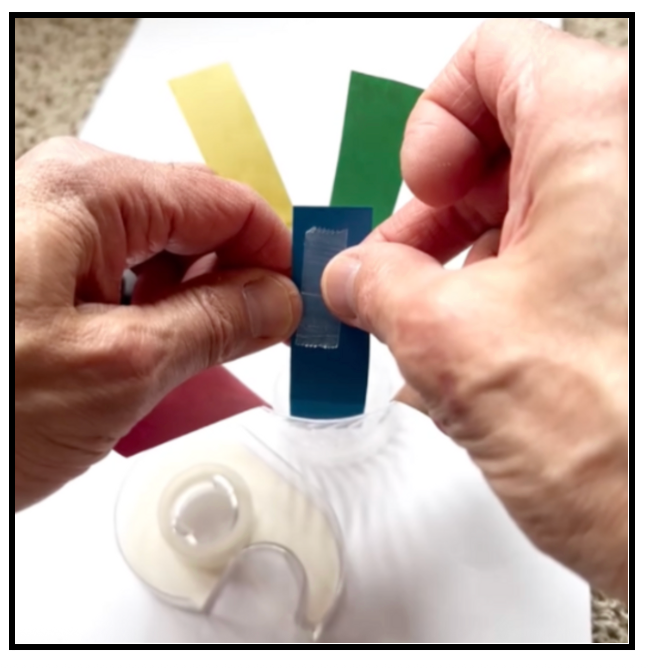
As you take a seasonal walk outside together, have your Little hunt for colors and when one is spotted, your Little folds that color strip to the outside of the cup and secures it with the double sided tape. Your Little can add the color items to the cup as they are collected!

Once you get home, your Little can create a museum
of the collected artifacts!
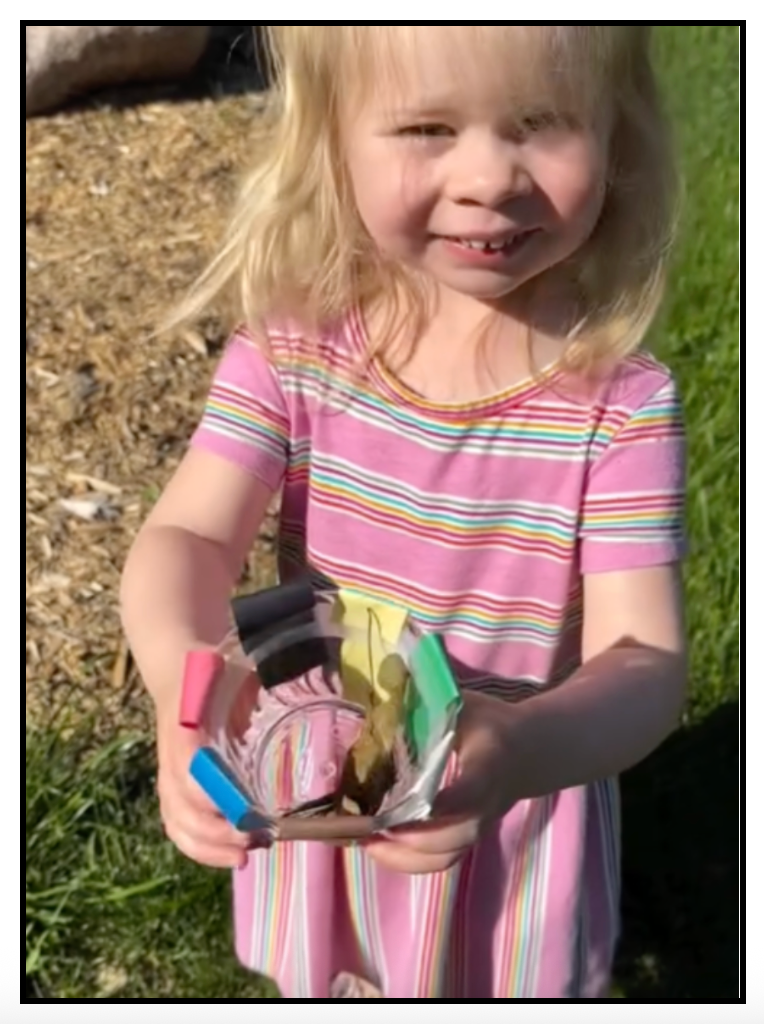
Your Little’s Color Hunt Cup can be used over and over again!
Use it during different seasons of the year
and then compare and contrast your findings!
Will It Melt?
This was a fun experiment that Laura and her Littles did
to beat the recent July heat wave!
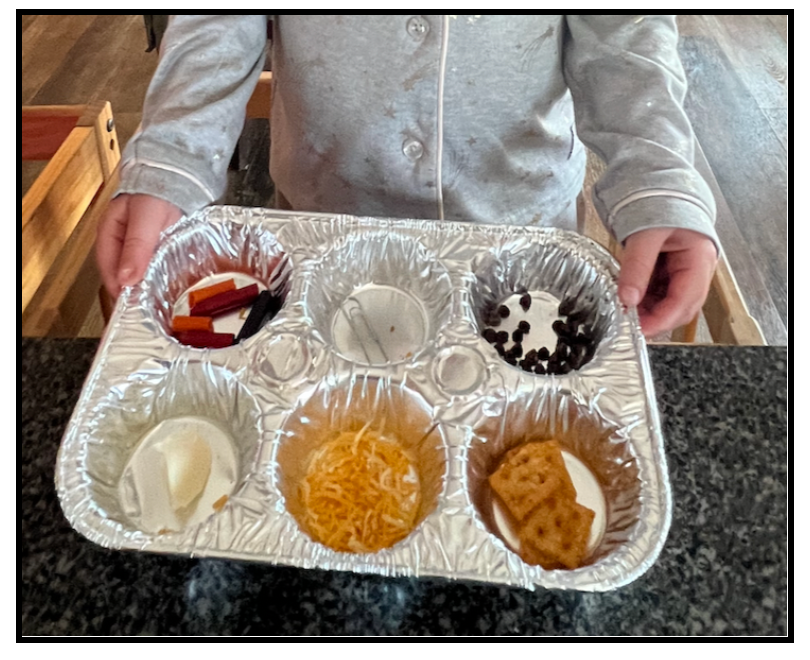
One hot day, we decided to answer this question - What things would melt in the sun? We looked through the pantry, the refrigerator and the craft supply drawer to find items we were curious about! We found six items - broken crayons, a paper clip, chocolate chips, butter, shredded cheese and crackers - and we put one item in each section of a disposable muffin tin. Each of my two Littles prepared an identical tin.
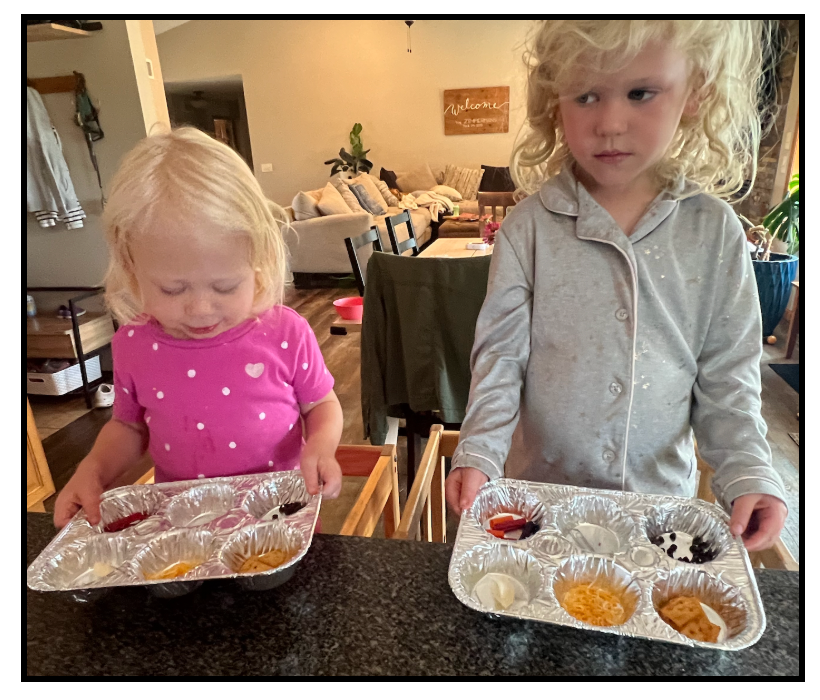
Then we found a place outside where the sun would shine all afternoon and put our muffin tins there.
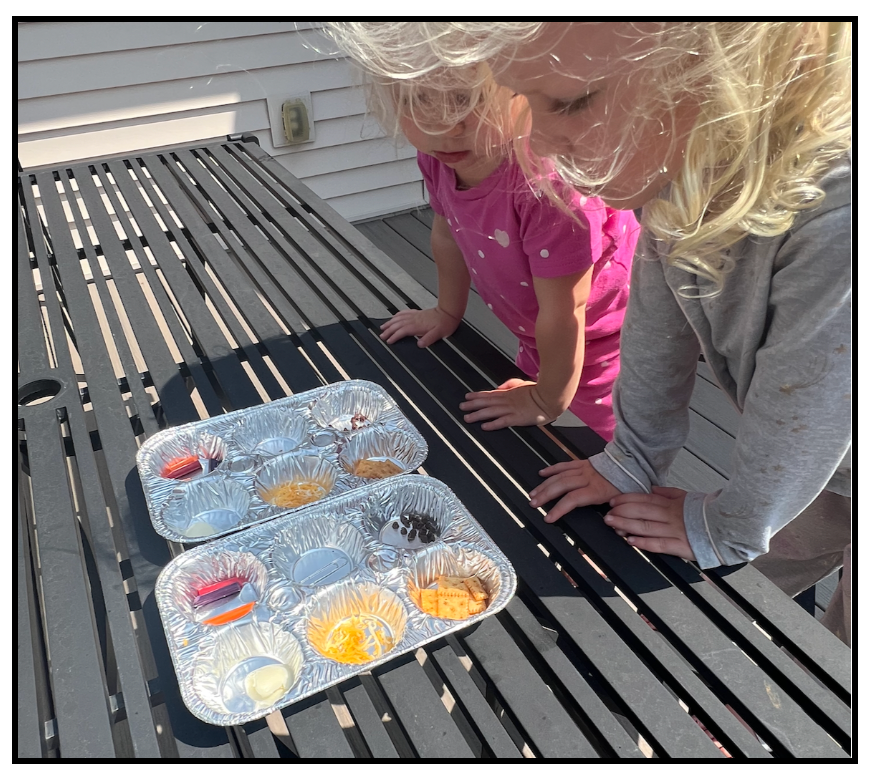
We set our timers for one hour.
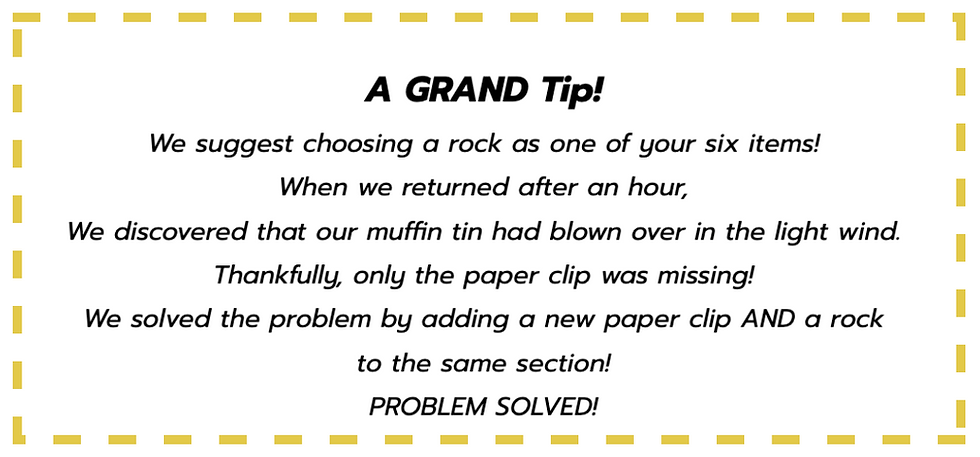
We regrouped and found a new spot for the muffin tins to live
(still in the sun but protected from the wind)
and we kept checking back every hour until bedtime!
Here’s what our muffin tins looked like at the end of our experiment!

The butter melted within the first hour!
Then the chocolate chips were next
followed by the crayons!
(Our Littles loved how the crayons melted together!)
The cheese only partially melted
(hmmm - that’s preshredded cheese, for you!)
and the rock/paper clip and the cracker didn’t change!
Take time for conversations and connections!
We had some fun conversations after we did this experiment
(what else might melt/not melt in the sun?)
and some connections were made, too!
(why chocolate melts in the car!)
A DIY Balance Scale!
Check out the easy balance scale Laurie and her Little D made
as they explored the question,
Which is heavier?
Littles of all ages will find lots to discover!
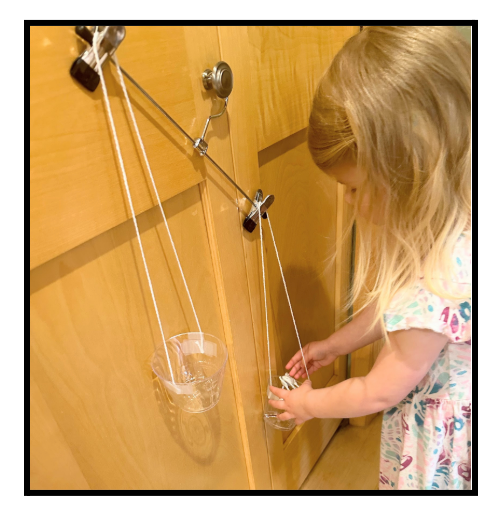
MATERIALS NEEDED
• A skirt/pants hanger (or a regular hanger*)
• 2 paper or plastic cups
• String or yarn
• Scissors and tape (any kind)
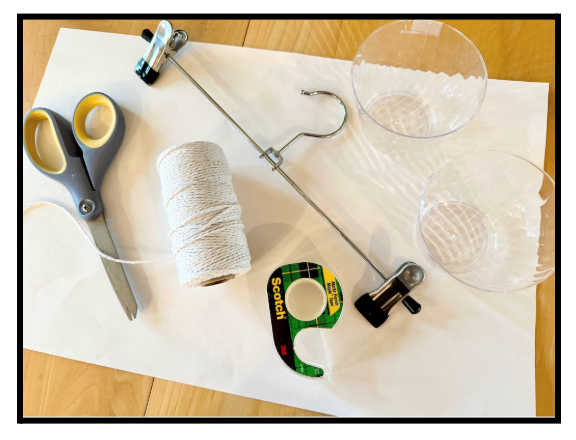
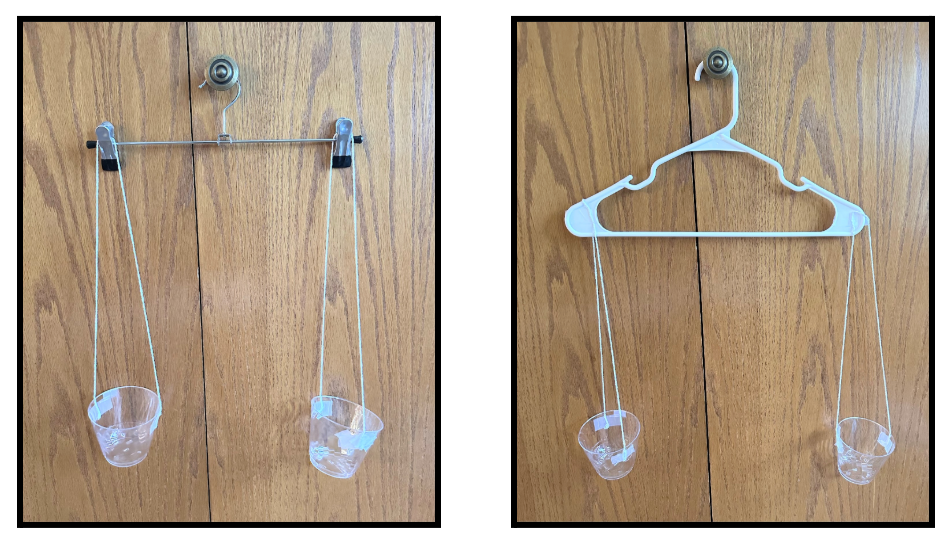
NOTE: You can use a regular clothes hanger, but you might need to tape the string from the plastic cups to the edges of the hanger so the weight is better distributed.
DIRECTIONS
1. Cut 2 fairly long pieces of string/yarn and tape it to the cup so it can loop around the clip on the hanger. This creates the scale. If you are using paper cups you can punch a hole in the cup and tie the string.
2. Find a spot where the “scale” can hang freely. (For example - a knob or latch on a door or cupboard.)
3. Go around your home and collect items that will fit in the cups on your scale. Your Little may have fun helping you hunt for items!
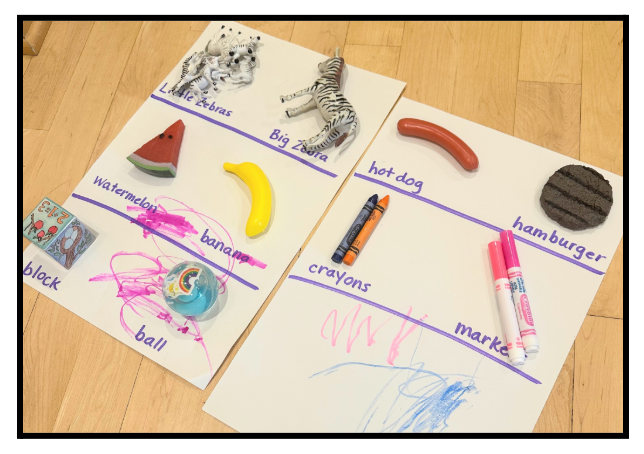
4. Allow your Little to gently place items in the cups and compare their weight.

Older preschoolers and school age Littles
can be encouraged to make predictions
before they weigh their objects!
For added fun, your Littles can…
Compare objects by size!
Adjust what’s on each side to balance the scales!
Sink & Float?
Sinking and Floating is so easy and so fun!
Laurie and her Littles had fun making an Instagram reel of the activity!
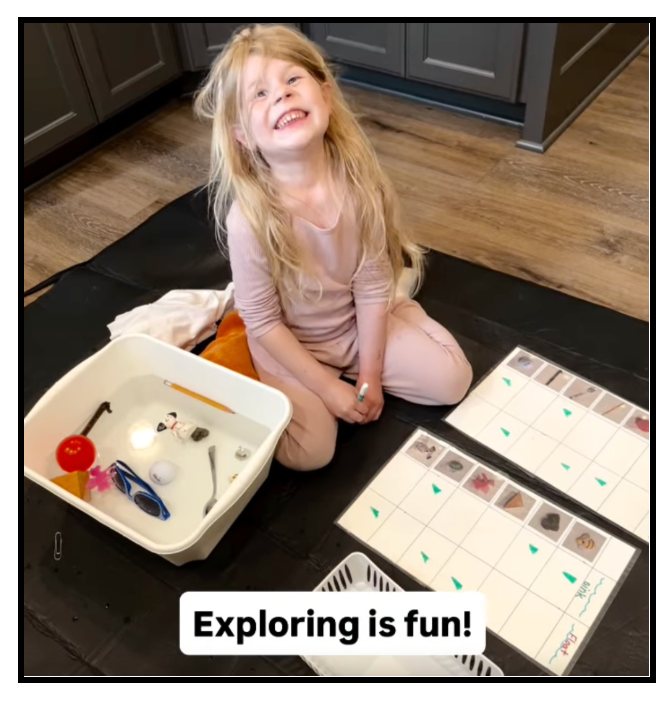
It took a bit of planning but it was totally worth it!
Here’s what I did to set up this activity for my Littles…
First,
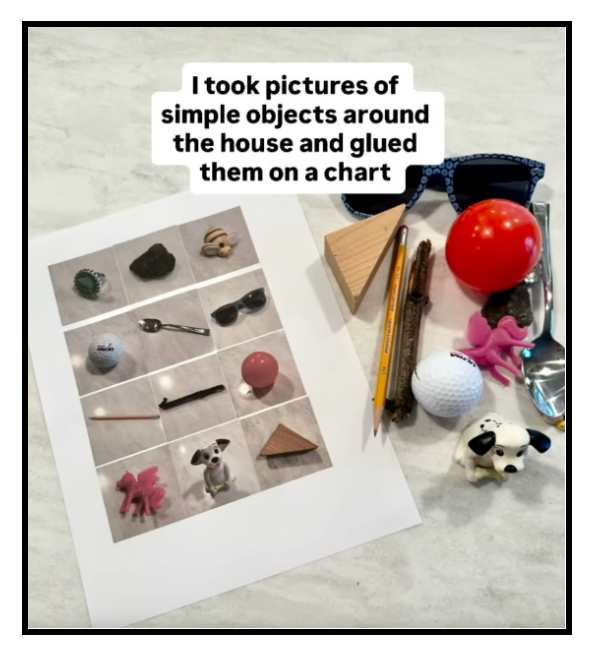
and then!
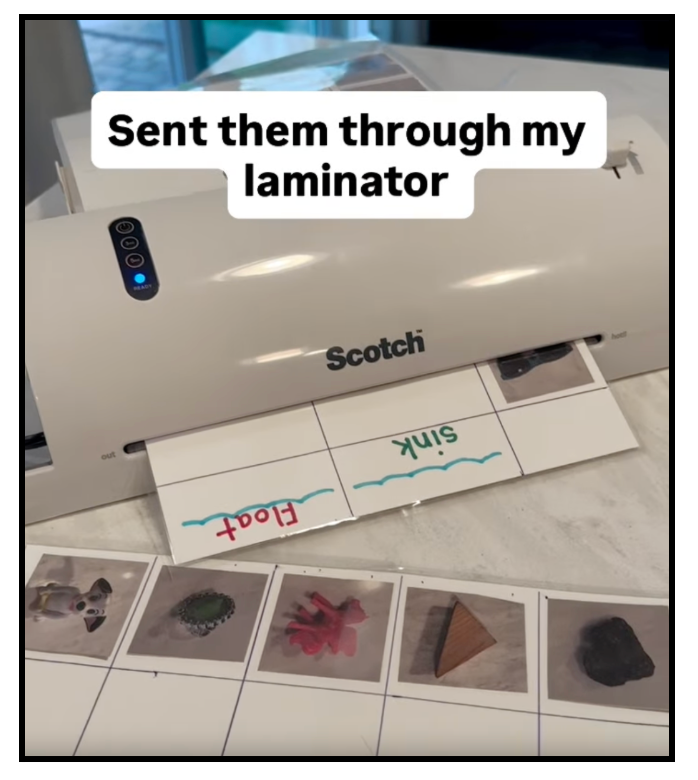
Ready to begin!

NOTE: The teacher in us prepped the activity as shown above
and preschool and older Littles will love
having the opportunity to record their observations!
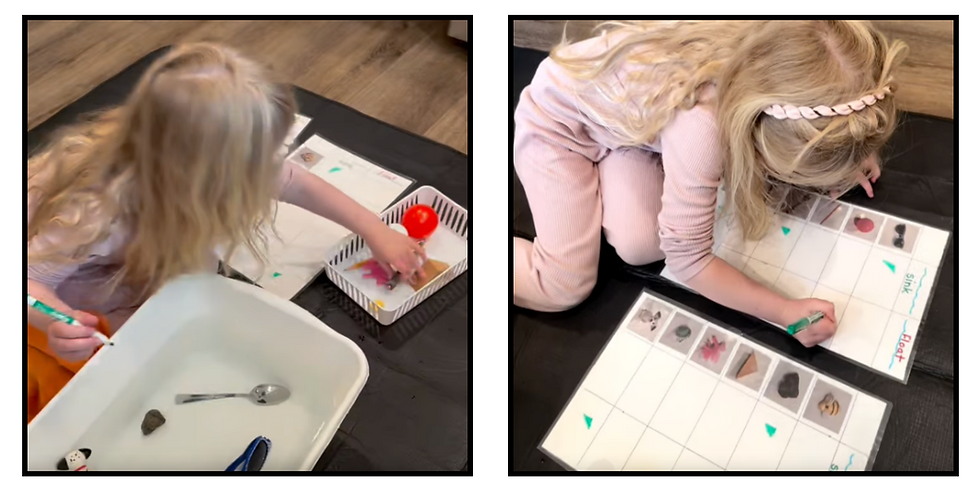
No worries, though! Your Littles can still have lots of fun!
If you don’t have accss to the above set-up, give this version a try!
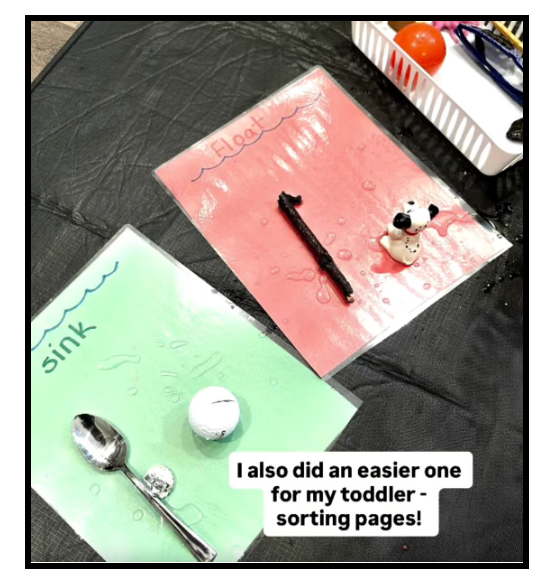
They (and your toddler Littles, too) will enjoy the same activity,
using only a bucket of water, a bucket of items to test
and 2 mats, marked “sink” and “float”.
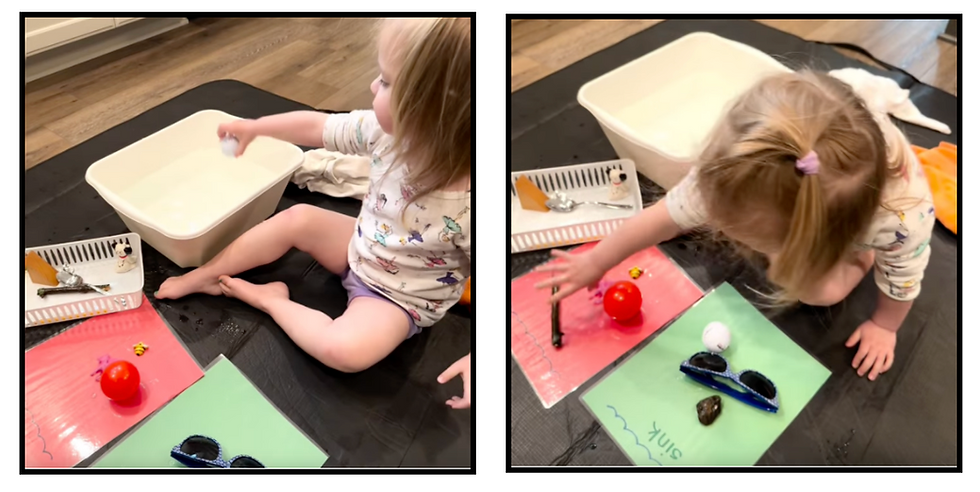
Be sure to ask questions as your Little explores…
What happened? Why do you think it happened? What else might sink/float?
Citrus Volcanos!
In the past, Laura and her Little L made Apple Volcanoes
and then last summer, during a rainy afternoon at the lake,
Little L’s mom had the idea to make Citrus Volcanoes!
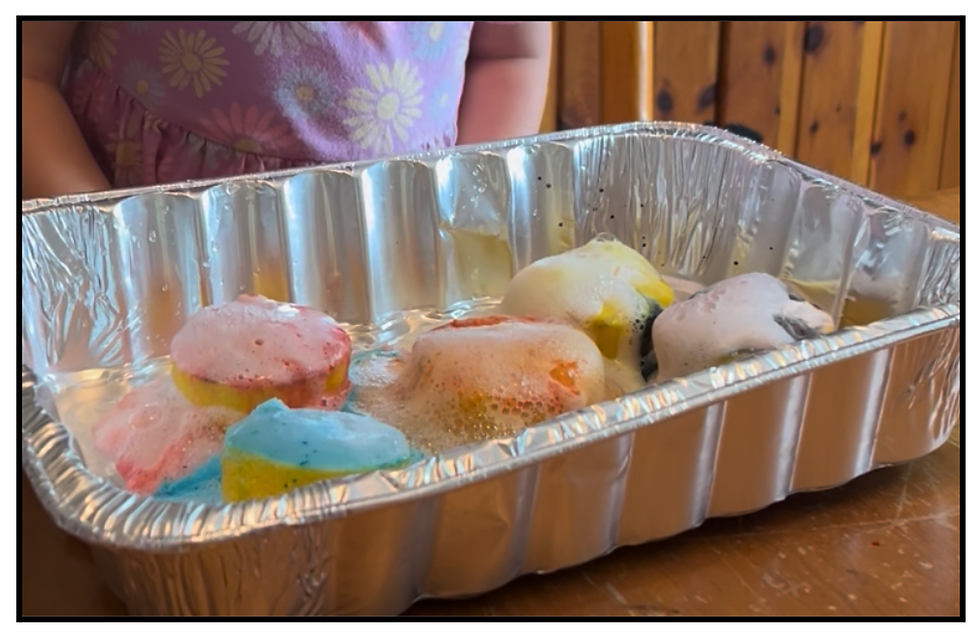
MATERIALS NEEDED
• 1-3 fresh lemons (we had some left from a weekend gathering)
• Baking soda
• Food coloring
• Dish soap (optional - for extra foam)
• A craft stick or spoon
• A tray or sheet pan to catch the mess!
DIRECTIONS
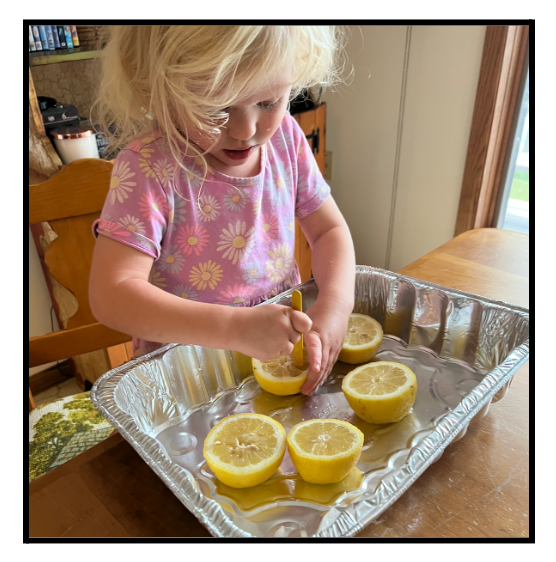
1. Cut a small slice off both ends of the lemon. Cut each one in half.
2. Stand the lemons on your tray/pan and use your craft stick or spoon to poke and mash the inside of the lemon. This will release the juices.
3. Add a few drops of food coloring into the middle of each lemon half. Then, if you’d like bigger, foamy bubbles, squirt a small amount of dish soap into the center of each lemon half, too.
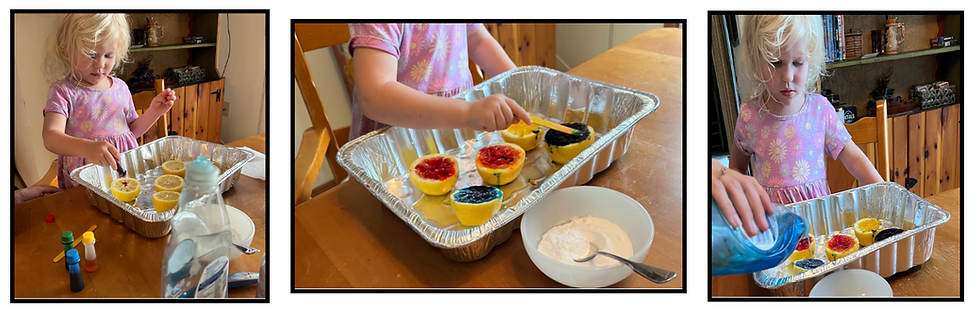
4. Add a spoonful of baking soda on top of each lemon half. Gently mix the baking soda into the mixture of food coloring, dish soap and lemon juice sitting on top of each lemon half.

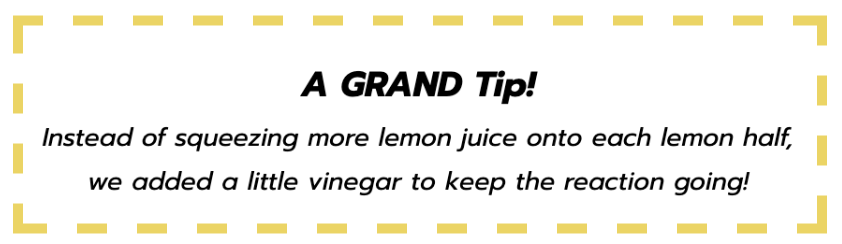
5. Squeeze more lemon juice onto each lemon half and watch the fizzing eruption bubble over the sides! Repeat by adding more baking soda and lemon juice to keep the reaction going!
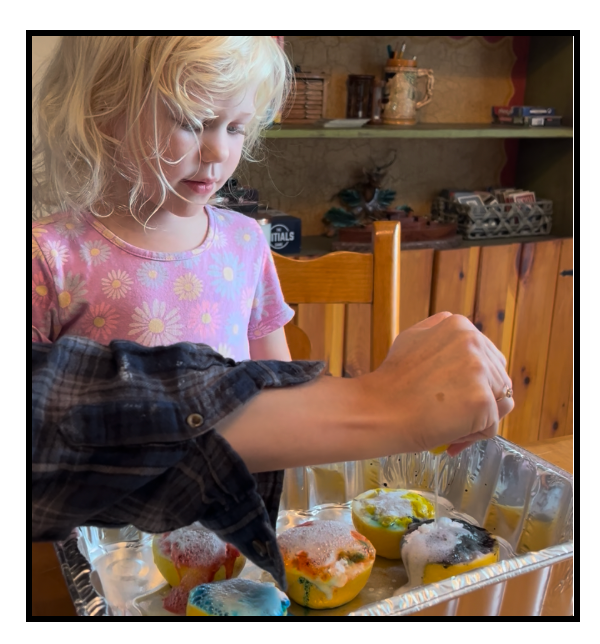
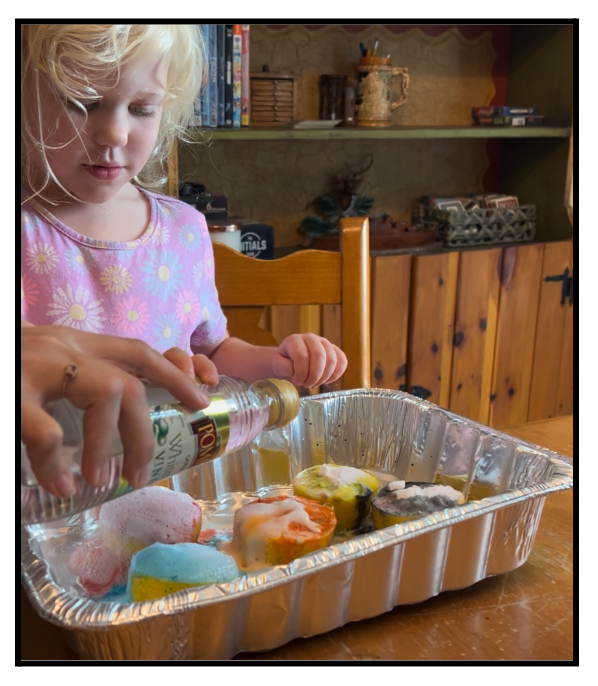
For some reason, this NEVER gets old!

Older Littles may want to know WHY this happens!
A lemon volcano erupts when you combine
lemon juice (an acid) with baking soda (a base).
This creates a chemical reaction that produces carbon dioxide gas
And that gas forms bubbles, causing a fun, fizzy eruption.
Add dish soap to trap the gas and make the reaction even more foamy!
Marble Play Dough Run!
This activity has become a favorite for
the school-age Littles in Laura’s life!!

Play dough and marbles can provide hours of discovery for older Littles!
In fact, I know some Middles (namely dads and Grands)
who might be equally intrigued!
CAUTION… Keep marbles away from young Littles!
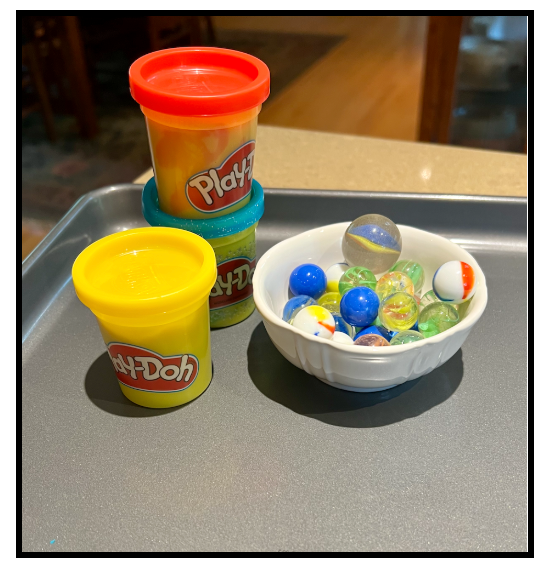
MATERIALS NEEDED
• Play dough (homemade or 3-4 store bought containers)
• Marbles
• A sheet pan or the lid of a cardboard box
DIRECTIONS
1. Roll play dough into snakes. Make some long snakes and some shorter snakes.
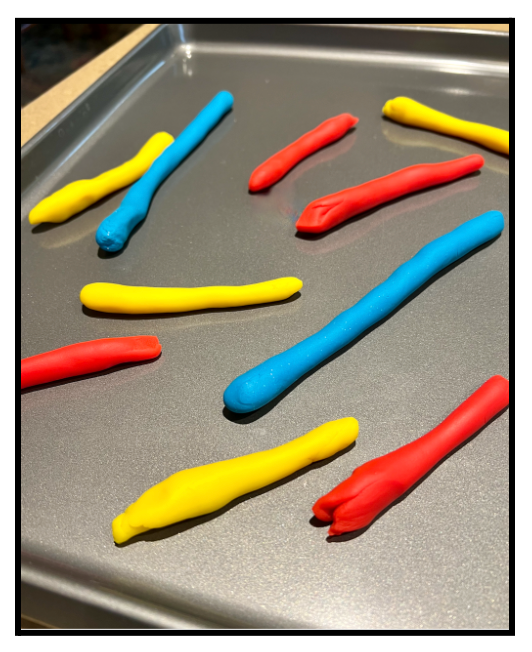
2. Place the snakes on the sheet pan (or cookie sheet). You can also use the lid of a box. Push each snake gently into the pan/lid so that each adheres. Create a path for the marbles to run down (similar to a pinball path), using multiple snakes to do so, as shown below.
Prop up one end of your pan/lid (we used a few books to do so). You can do this on the floor or on a table top.
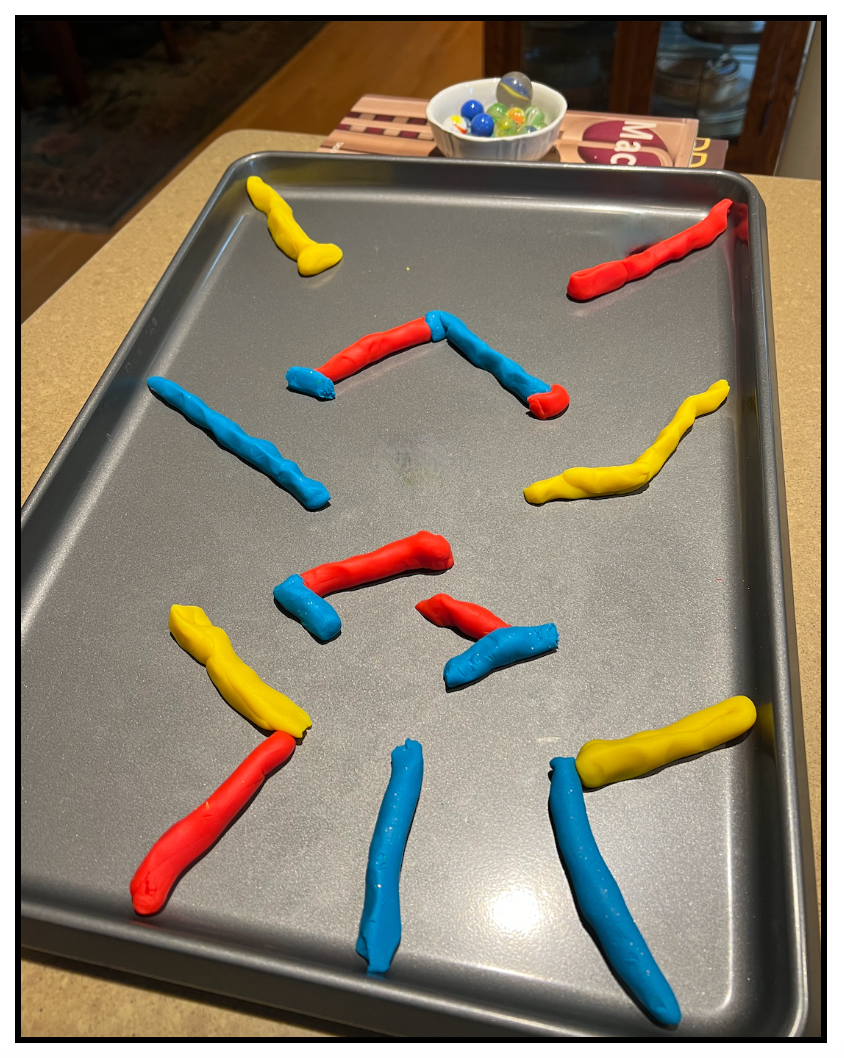
3. It’s time to test your track! Starting at the top of the track, roll one marble down at a time! At this point your Little may want to make snake adjustments so the marbles move more successfully or faster through the route!
For added fun, your Littles can…
Time marbles as they travel down the track!
Test other objects on the track (ping pong ball, pom pom, coin)
to see if each can successfully make it down the track!

We sure hope that the Explore & Discover activities we’ve shared today
inspire you to explore and experiment with your own Littles!
As always, we’d love to hear from you, too!
Do you have one or more STEM/STEAM activities to share?
If so, please comment at the end of this post!
We love learning from each other!
As another option, you can always reach out to us
at ourgrandlives@gmail.com if you prefer!
Don’t forget to check us out on our social media sites regularly, too…
and we’ve shared several of our ideas on our Pinterest site, too!
We’d also love to have you join our other OGL subscribers
so you always know what’s up with us at Our Grand Lives!

Whether you're building, experimenting, creating, or simply asking, "What do you think will happen next?", every activity is an opportunity to explore and learn together!
After all, the greatest discoveries often begin with the simplest moments… A question, an idea, or the willingness to try something new.

So let's make the most of these late-summer days
with activities that spark imagination, inspire discovery,
and create memories that the heart holds forever.


SPECIAL THANKS TO THE FOLLOWING SITES FOR FEATURING OUR POST!
Busy Monday from A Pinch of Joy
A Morning Cup of Joe from The Cottage Market
Thank you for featuring this post on your sites!
💗 💗 💗
💗 We are delighted to join the following link up parties and blog hops! 💗
MONTHLY
SUNDAY
MONDAY
TUESDAY
WEDNESDAY
THURSDAY
FRIDAY
SATURDAY


These are awesome. I love how simple they are to do at home, too. I think the most important thing that you listed is "Ask questions." Curiosity can teach us so much! Thank you for sharing this with us at the Will Blog for Comments #90 linkup. We hope to see you sharing more at #91 when it opens next Monday. Wishing you a fabulous week.
Love all of these. Creative projects that address many learning styles!
Such cute projects. I bet the kiddos love making all of these darling ideas. Thanks so much for sharing at Love your Creativity.
So many fab ideas again, ladies! We've always loved using STEM activities in our home ed, especially when the kids are learning without it feeling like a lesson. The citrus volcanoes look like so much fun, and I love the marble play dough run, too! 💕
I send my granddaughter out on missions. My DIL will let me know her latest complaint then I will come up with a plan to implement a change in behaviour. Granddaughters latest is an instance on picking up random stones and sticks, we've all done it, mine did, but there are full on melt downs if she can't have each and everyone brought home with her. So now she has a particular shaped pebble she must look for that we are going to turn into an art project, a leaf of piece of wood/bark that I need for a project of mine and so far it is working well, all the randomness has stopped and if she finds something she…